About this deal
Almost all steps can be completed with a sewing machine — there is only the tiniest bit of hand sewing required. That said, if you don’t have a sewing machine, you can easily hand-sew all of the steps. (I’ll show you how to modify this pattern into a no-sew project, too.) Scrunchies with Knots, Bows, or Tails If you don't have a loop turner, you can also hook a safety pin to the end of the fabric and work the safety pin through the tube until it comes out the other side. Now that the elastic is inside the tube, it’s time to sew the remaining opening closed. For a truly seamless finish, you can sew this opening by hand. Using a blind stitch, or an invisible ladder stitch, stitch the remaining opening closed.
Step 3: Using scissors, clip the curves. (This creates a smooth outer edge when you turn the fabric right side out.) Turn the bow right side out through the remaining gap. Press if desired.
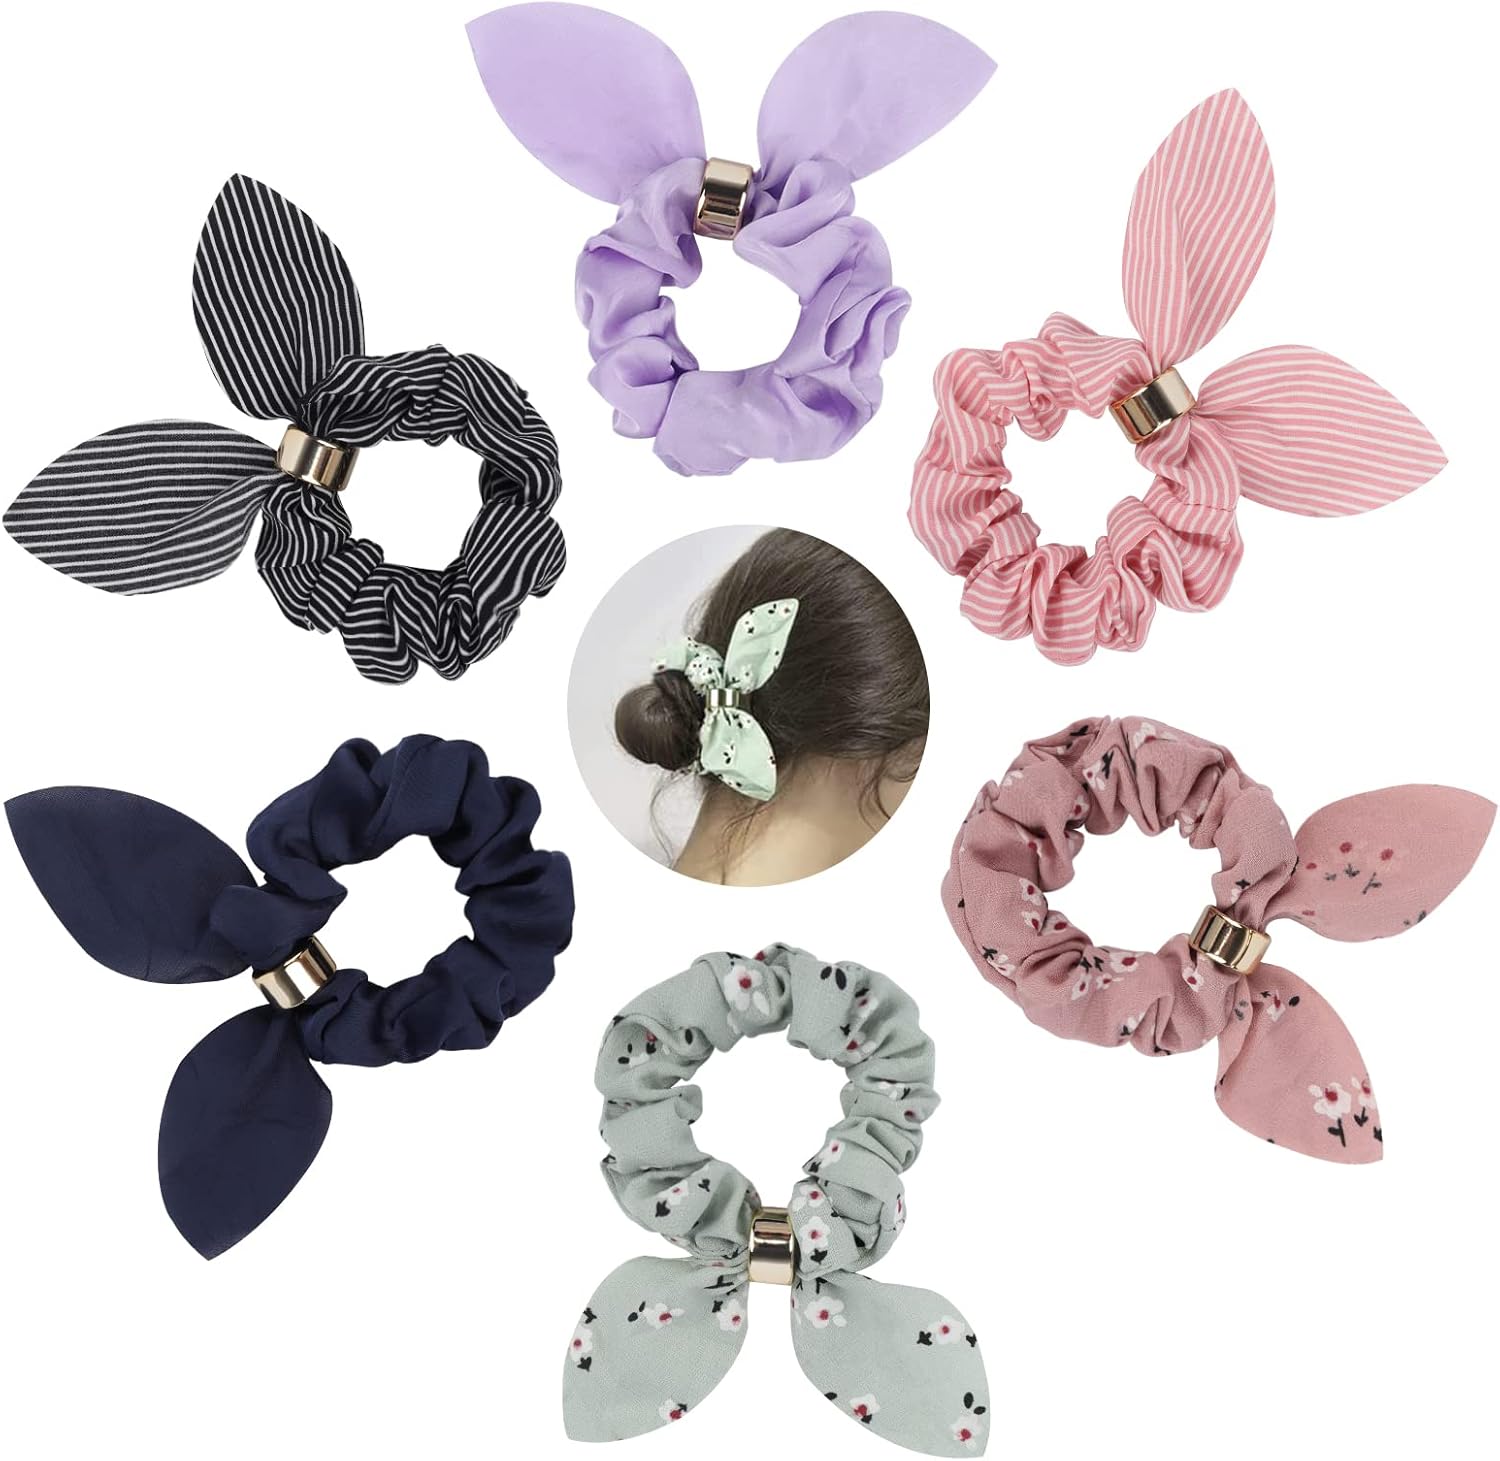
This version of my scrunchie pattern gives you a fun bunny ear variation. Did I mention this is my favorite style? I've made more of these scrunchies than I can count! Scrunchies with Medium Bunny Ears
Hair scrunchies can be made in a wide variety of fabrics to match your style and your wardrobe. Each type of fabric will give the finished scrunchie a slightly different look. Turn under one narrow end of the fabric piece by ¼″ (0.7 cm) and topstitch so you create a finished edge. STEP 5 – SEW A TUBE Choose an all-purpose sewing thread in a color that matches your fabric. Use a hand-sewing needle to sew along the seams with a small running stitch. How to Make a No-Sew Scrunchie Match up the folded edges, so the hair tie is inside the fabric. If this looks confusing to you, scroll up to watch the video tutorial. Here are the instructions for cutting out your fabric and elastic. Plus, I’ve given you some advice on customizing the size of your scrunchie to fit your style. Fabric
Now, turn the fabric tube right side out using a safety pin - attach it to one end and guide the safety pin through - just like you do it when threading elastic through a casing. STEP 7 – Add Elastic and Close
Pull the longer scrunchie end through the seam opening and up inside the 8cm end. The tube ends should now be facing right sides together. Thread the elastic through the scrunchie, holding both ends so it begins to gather up the fabric. Pin both ends of the elastic together. Sew these together with a few rows of stitching to secure on place or tie into a knot. PRO TIP: While sewing the elastic ends together is the best and strongest way to secure them, you can tie the ends together tightly in a double knot instead if you're in a hurry or having trouble with this step.Cut a rectangle of fabric 3” x 16”. Also cut 2 on fold of EITHER the Long Bowor Short Bow pattern pieces. Here’s what it looks like with pins all the way around. The hair tie is hidden inside the scrunchie. 6. Sew the open edge closed Step 1: To cut out the fabric for your bow, fold your fabric in half and place the pattern pice on top with the top edge along the fold. Pin the pattern in place and then cut out the fabric – you need to do this twice so that you have two identical pieces of fabric which open out to look like this… Learn how to make your very own DIY hair scrunchie with this easy step-by-step tutorial. I’ll show you how to sew a seamless, professional-looking scrunchie with a sewing machine or by hand. Plus, I’ll give you three easy options to add bows or tails to your custom scrunchies. DIY Hair Scrunchies Decide which of these you want and cut two pieces from: knot bow / mini knot bow / scarf /bunny ears. Cut two pieces from your fabric.
Then, pin the second safety pin to the other end of the elastic. Use the safety pin to feed the strip of elastic through the tube. When you’ve finished, you should have both ends accessible through the opening on the side of the tube. Our sustainable silk printed scrunchies are the perfect addition to brighten up your outfits. Sustainably made from fabric cutoffs to help reduce our waste and available in a range of our best-selling Lisou prints. Can be worn in a bow or with the tails loose. What a fun idea to make this spring! To create a diy bunny ear scrunchie, use the bunny ear scrunchie pattern piece (i.e. the one marked as 'Bunny Ear Piece'). 4 - Diy Scarf Scrunchie Pattern Fold the scrunchie piece in half lengthwise. Pin along the long edge to hold it in place for sewing. Sew together with a 1/4 inch seam allowance. Place the two pieces with the right sides together and sew around, leaving 2" unsewn somewhere in the middle of the piece: Step 10 - Trim and TurnPlace elastic around your wrist or cut as measurements above. Thread the elastic through the opening in the seam and tie off with a knot. Scrunchies are a great project for beginning sewists or anyone looking to practice their sewing skills. With this easy pattern, you can make a seamless, professional-looking scrunchie in almost no time at all. A Great Project for Beginners
 Great Deal