About this deal
There are many different router bits to choose from. Select one with a profile for the cut you want to make. It might be a straight cutting bit, one that cuts a groove such as a cove bit, an ogee, or guide bearing. With all the parts edged, I assembled the cabinet using washer-head screws. You could use other types of screws, but washer heads eliminate the need to drill countersink recesses, add some strength, and—like the edging—they look good.
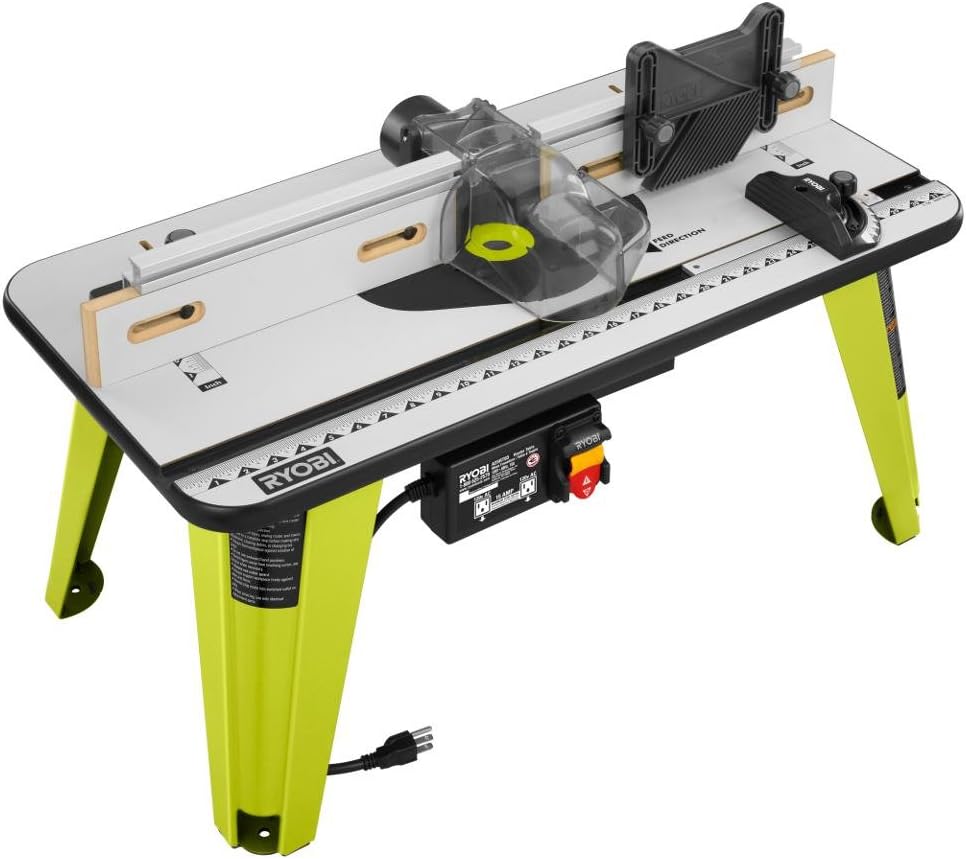
Double dust collection Vacuum ports in the cabinet and fence provide suction both above and below the router bit, making this router table one of the cleanest machines available. Once you’ve adjusted the fence, you should test your setup using scrap pieces of wood. Make sure you set everything up before you start working on your project. Think of the top like a sandwich. The MDF core (D) is the meat and the 1/4-in. hardboard (N) is the bread. Here’s the recipe: First, glue one layer of hardboard (cut about 1/2 in. larger than the final size) to the MDF core (Photo 2). I pressed the parts together using a slab of MDF as a platform, 2x4s and clamps. This is a complicated glue-up, and I strongly recommend that you make a dry run complete with all the clamps first.
Finishing touches
Safe, convenient switch The external switch lets you switch your router on without opening a cabinet door. When making stopped cuts, you can even switch it off with your knee, leaving both hands free to hold the workpiece. The switch is optional; you can use the switch on the router. If you want a smooth cut and experience less vibration, choose a 1/4” bit. Step 2: Fit Bit into Collet Another joinery technique you can use your router for is planing. This is a crucial step when preparing wood for jointing. Planing is important because it removes imperfections and ensures edges are perfectly straight. Router Table as a Jointer Start with small cuts and get in some practice before moving on to more significant projects. How to Use a Router Table – 6 Common Uses
Safety of the operator should be a primary concern, as there is potential for injury when using a router. The bit guard is an important feature as it keeps your fingers away from the spinning bit and protects your hands when cutting. It also stops chips from flying up into your eyes. Starter Pin Stand-alone legs or a cabinet support a workstation of this style. One bonus with a cabinet style table is that you get extra storage space underneath your workstation. Use it to store your router, various bits, and accessories. Full Router Table System There are certain cuts that a fence won’t work for. On these occasions, a starter pin is what you use.I hope you’ve enjoyed this introduction to using a router table. With practice, you’ll soon appreciate the benefits of having one and be able to work more efficiently.
All these materials are suitable because they don’t warp, are entirely flat and even. All these qualities are vital if you don’t want to compromise your molding’s shape. Legs or Base If, however, your projects will be more heavy-duty and long-lasting, a tabletop made using phenolic resin will be more rigid and stable. Another option if you’re looking for durability is cast iron. Also, the fact that you can get the feather board closer to the router means greater accuracy. They’re useful for delicate jobs such as edge forming, rabbeting, and grooving.
In my beginner’s guide, you’ve learned how to use a router table. You’ve also been introduced to the different parts of a router table, how to set one up, how to feed wood into the table, and many of its various uses. Before I start with step one, let me first remind you to wear personal protective equipment. To keep yourself safe, use eye and hearing protection and a good quality respirator. Follow the manufacturer’s instructions for your table and router and work safety rules. Step 1: Selecting a Bit Edge trimming and pattern work are two of the most common uses. You can use your table to smoothly and expertly trim edges. There are several joinery techniques you can use your router table for, provided you’ve got the right bits. Cut all the cabinet parts (parts A – G) and band them with hardwood edging (S – W). I used maple. When gluing on the edging, I used masking tape to hold it in place until the glue set, though there were some stubborn spots where I needed the extra force of clamps. The edging has two purposes: It protects the edges of the MDF, which are prone to chipping and denting, and it just plain looks good when the router table is finished.
 Great Deal