About this deal
Typical delivery time frame is between 5 to 7 business days however, you may receive your items much earlier. Our Guarantee And speaking of it being lit up, let’s talk about the LEDs! The Original Moon Lamp puts out a 3000K warm creamy yellow light or a 6000K more natural bright white . Each is as beautiful as the other and interchangeable at the touch of a button! SPECIFICATIONS
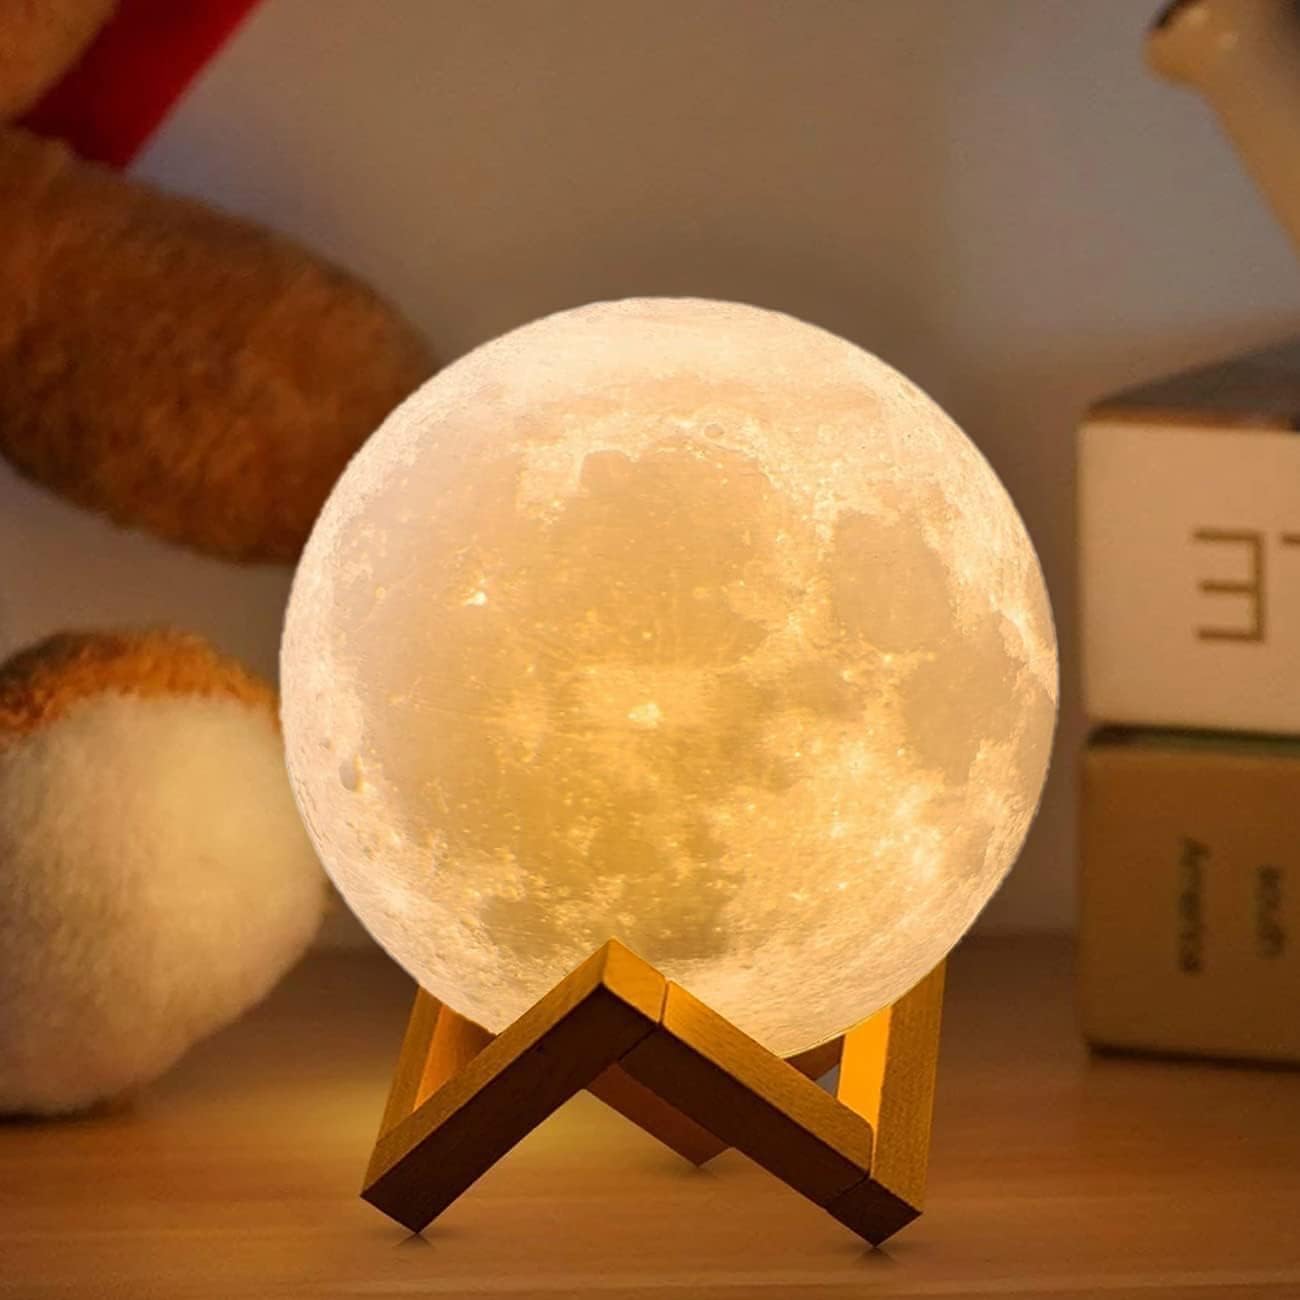
First I took the LED lights off the base. I cut off the portion of the broken strip light at the closest copper spots (there is a picture of these above), then used the wire cutter to cut off the multicolored wires where they were originally connected to the strip. The Levitating Moon™ lamp floats above the base because of the magnetic force pushing the moon lamp away from the base. After our experts have made sure the designs are perfect they begin the process of printing them on our cutting edge, state of the art 3D printers. Each and every lamp takes around 26 hours to 3D print, and it is done so in one single piece. When I was designing my project, I wanted a sphere with a diameter of 6 inches (152.4mm) and a hole of 2 inches (50.8mm) so that the base and cylinder can be inserted inside. As you can see from above, this was designed so that the moon can fit on top of the base, which has a cylinder extruding from the middle where the LED lights can be wrapped around.A replica of Earth's moon 3D printed in intricate detail levitates above the base as the electromagnetic forces create a magical floating effect. For my base design, I had a hollow base with a diameter of 6 inches (152.4mm) and walls of 3mm wide. The cylinder in the middle had a diameter of 1.8 inches (45.72), just a little smaller than the hole of the sphere because you will need to wrap your LED lights around this cylinder. The walls of this cylinder were 1mm wide. The space where the cylinder meets the base should be empty since the wires of the LED lights will need to go through the cylinder. Plan for two holes with diameters of 25mm in the walls of the base and the cylinder; the wires of the LED light will go through them. In recent years, technological advancements have given rise to innovative and mesmerizing lighting solutions. Among these captivating creations is the levitating moon lamp—an enchanting blend of art, science, and aesthetics.
Decide on a design for the ledge. I wanted mine to be a rectangular box of 37mm by 62mm. I marked my design onto the styrofoam using a pen. Typical delivery time frame is between 7 to 10 business days however, you may receive your items much earlier.
COMPANY INFO
Then I added points to make the hole creation process (step 9) easier. I created another sketch on the surface of the extruded rectangle and added two construction lines 8mm from the side and 3mm from the top right. I repeat this step on the bottom left (the 3mm would now be from the bottom left) and made sure they are coincident. There is a picture of this above. Imagine what it feels like holding the moon in your hands. The dead volcanoes, the impact craters, the lava flows... all within your reach! THE PERFECT GIFT! Lighting Technology: The lighting technology within levitating moon lamps adds to their ethereal appeal. LED lights are used to illuminate the lunar surface, providing a soft and soothing glow that mimics the moon's natural radiance. With adjustable brightness levels and color temperatures, users can create the perfect ambiance for any occasion.
Add a little bit of magic to every room at night while you're reading your books or simply admiring the beauty of the moon before bed. I switched to bottom view and created a sketch on the base (almost like the ceiling for the bottom section).I went through many challenges throughout the process of this SIDE Project, including having to learn how to use software like Fusion from scratch while I was actively working on the creation process and improving on my project many times throughout the year. Using the Hole feature, I created two holes of 25mm diameter at the center of the base and at the side of the base's walls. These holes are necessary for the wires of the LED lights to reach the cylinder. The LED light kit should have an RGB control box with extrusions containing holes. I measured all the dimensions of the control box and the diameter of the holes using the dial calipers. This step is extremely important, measure every part of the control box, especially the extrusions, before purchasing screws. The LED lights are very long, so I then cut the end of the lights at the nearest copper part where each section is adjoined. There is a picture of this above.
 Great Deal