About this deal
A glued, plated and bolted nibbed tapered scarf joint is stronger than a half lap but not as easy to cut in limited space. Although it too has two cuts per 4×4, accurate sawing is more difficult. The skill level and aesthetics of the finished joint influence the choice of connection. A poorly sawn joint won’t make for a strong connection. Conclusion The simplest way to create a removable fence post in areas that don’t get snow and ice in winter is to cast a sleeve into the ground and then use that sleeve to house the post when it’s in position. A hollow 10” to 24” metal pipe, 1” to 1-1/2” in diameter, inserted into a hole drilled vertically into the center of the ends of the two 4×4 to be butt joined, provides additional lateral reinforcement. The pipe is secured into the vertical holes with construction adhesive. Two 1/2″ through bolts are inserted into the top and bottom post pieces in holes bored through the wood and pipe.
The fence post options for a removable post like this are nearly endless. You could use this as a fence post for demountable panels or as a bollard. You can make your post any size you like as long as you can find the right size pipe for your sleeve too, and you can make your removable fence post any height you need for the job at hand. Joining 4x4s for horizontal use instead of vertical use is done in a similar way. The orientation of the cuts should maximize lateral strength while preventing the retention of penetrating moisture. The stresses applied to the skid will also affect the type and orientation of the connection. A pull force versus a downward force affects the joint differently. Post to Beam Connection If your original fence posts are concrete, you will need to use that the screws specifically made for concrete that I mentioned before. You’ll also need a carbide-tipped drill bit to be able to drill holes into the concrete. 7. Paint The Extenders For increased strength, apply construction adhesive to the cut faces and connect with 1/2″ or 5/8 inch through-bolts with washers or through the steel plates. There are several ways to remove the wood to do the lap; however, the lengths and location do play a part. A basic hand saw, hammer, and chisel, or all three have worked for centuries. Electric or battery-powered skill saws or reciprocating saws are a modern convenience that may make the task easier. I’ve seen a good hand sawer do up a set of half-laps in the same amount of time as a reciprocating saw, and with much more accuracy.After fitting the pieces together, just screw them into place. 5. Place The Extender On Top Of The Post Make sure that the inside diameter of your removable fence post sleeve is slightly bigger than the outside diameter of your fence post – but not too much! You want the fence post to slide in easily, but you don’t want so much room that it rattles around. Your Fence Post
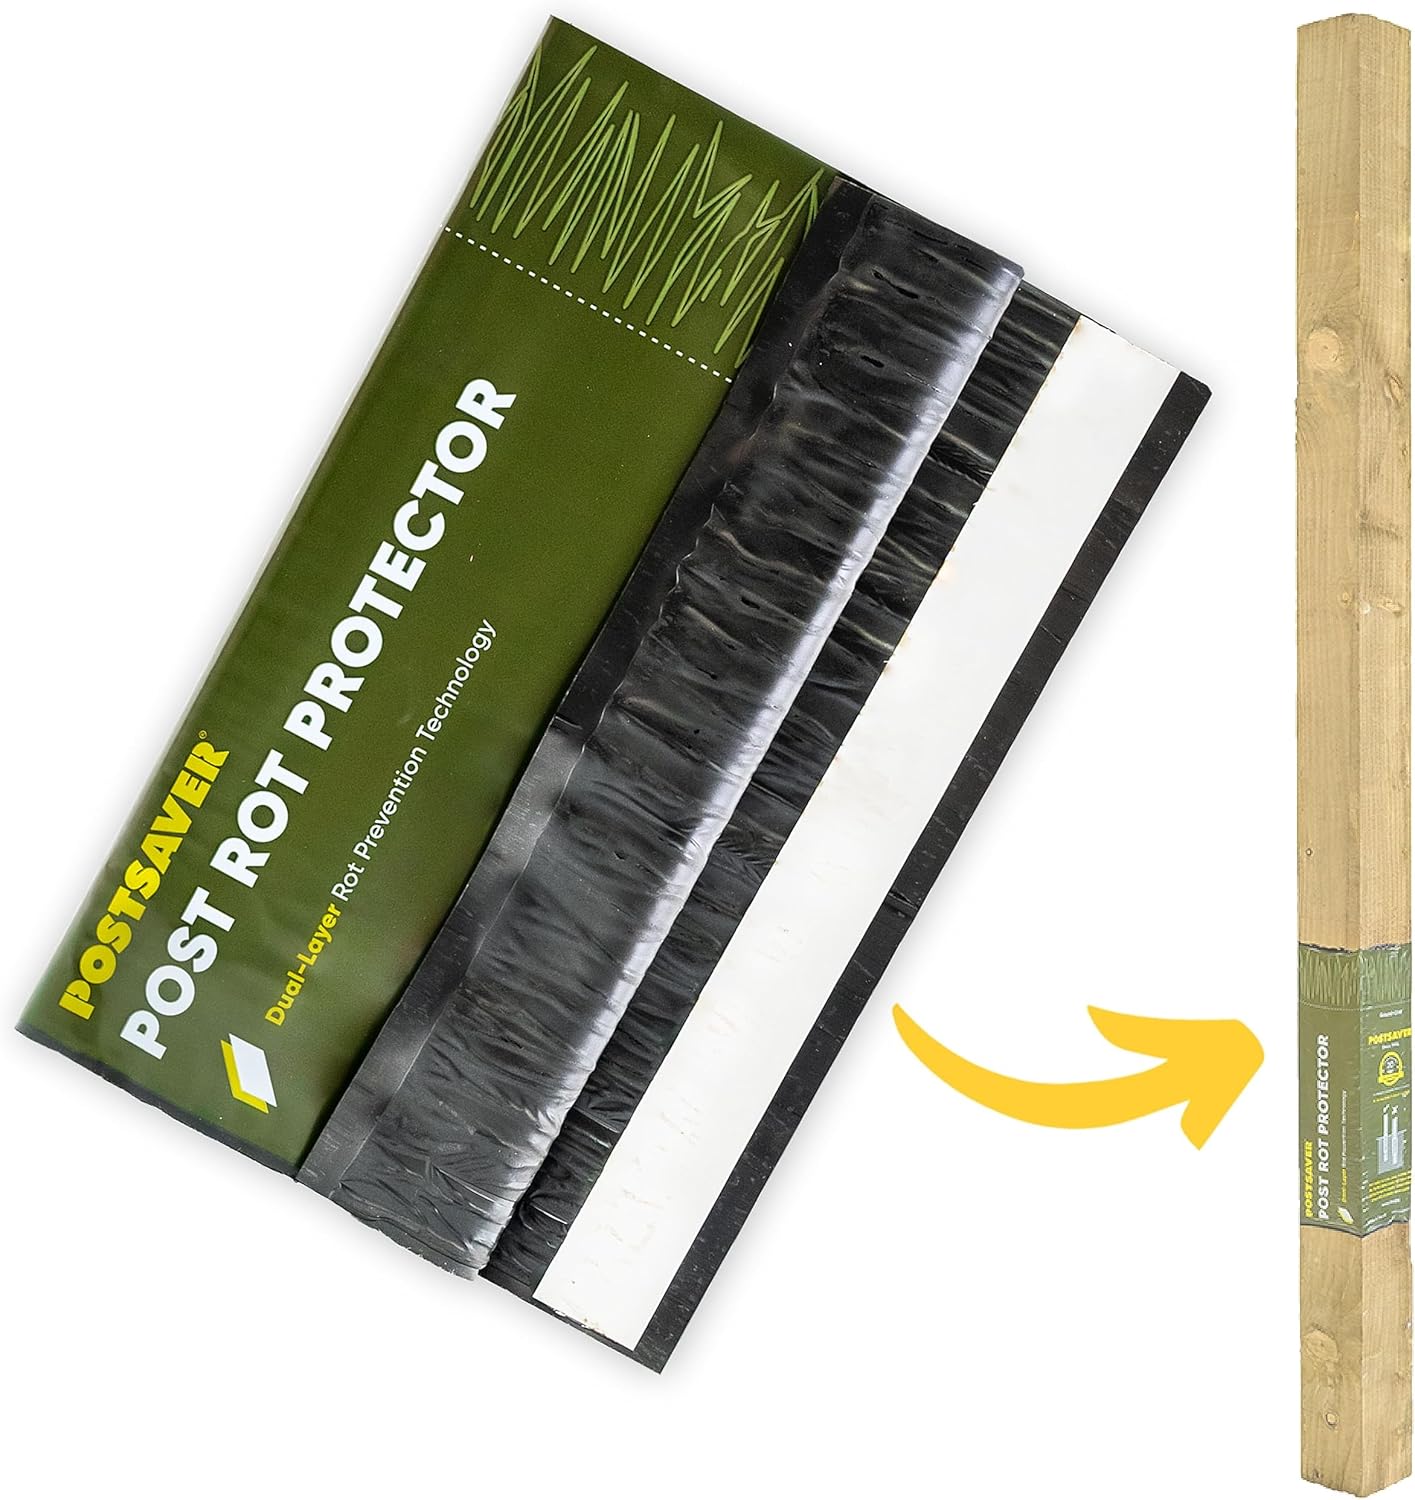
It comes with a 20-year post-replacement guarantee, so you can rest assured that your posts are protected for years to come. Joining 4x4s together to extend their length can be as easy as a butt joint or as complex and elaborate as a keyed, double tenoned scarf joint. However, some cuts are better done where the timbers can be rolled easily and joints tested for alignment and fit. When working on posts under load or limited space, simpler connections are better. Two other reasons rest on transportation and availability issues. Carrying and connecting two 8-foot lengths is easier than transporting a 16-foot length, especially if traversing woodland trails. The availability of long 4x4s at many small suppliers is often limited due to low demand, making splicing a necessity. Repair You can buy extension pieces that should fit with your original posts. Finding the right type of extender will depend on the type of fence posts in your fence.
Separate the joint, apply the compound evenly, and then reseat the two pieces using several through bolts to hold the alignment. As the bolts are tightened, the viscosity of the glue makes the pieces want to slide out of alignment, making clamping difficult. As you will note from the sketch we’ve provided, our version of a sleeve has a pre-welded base plate. There are several reasons for this.
 Great Deal