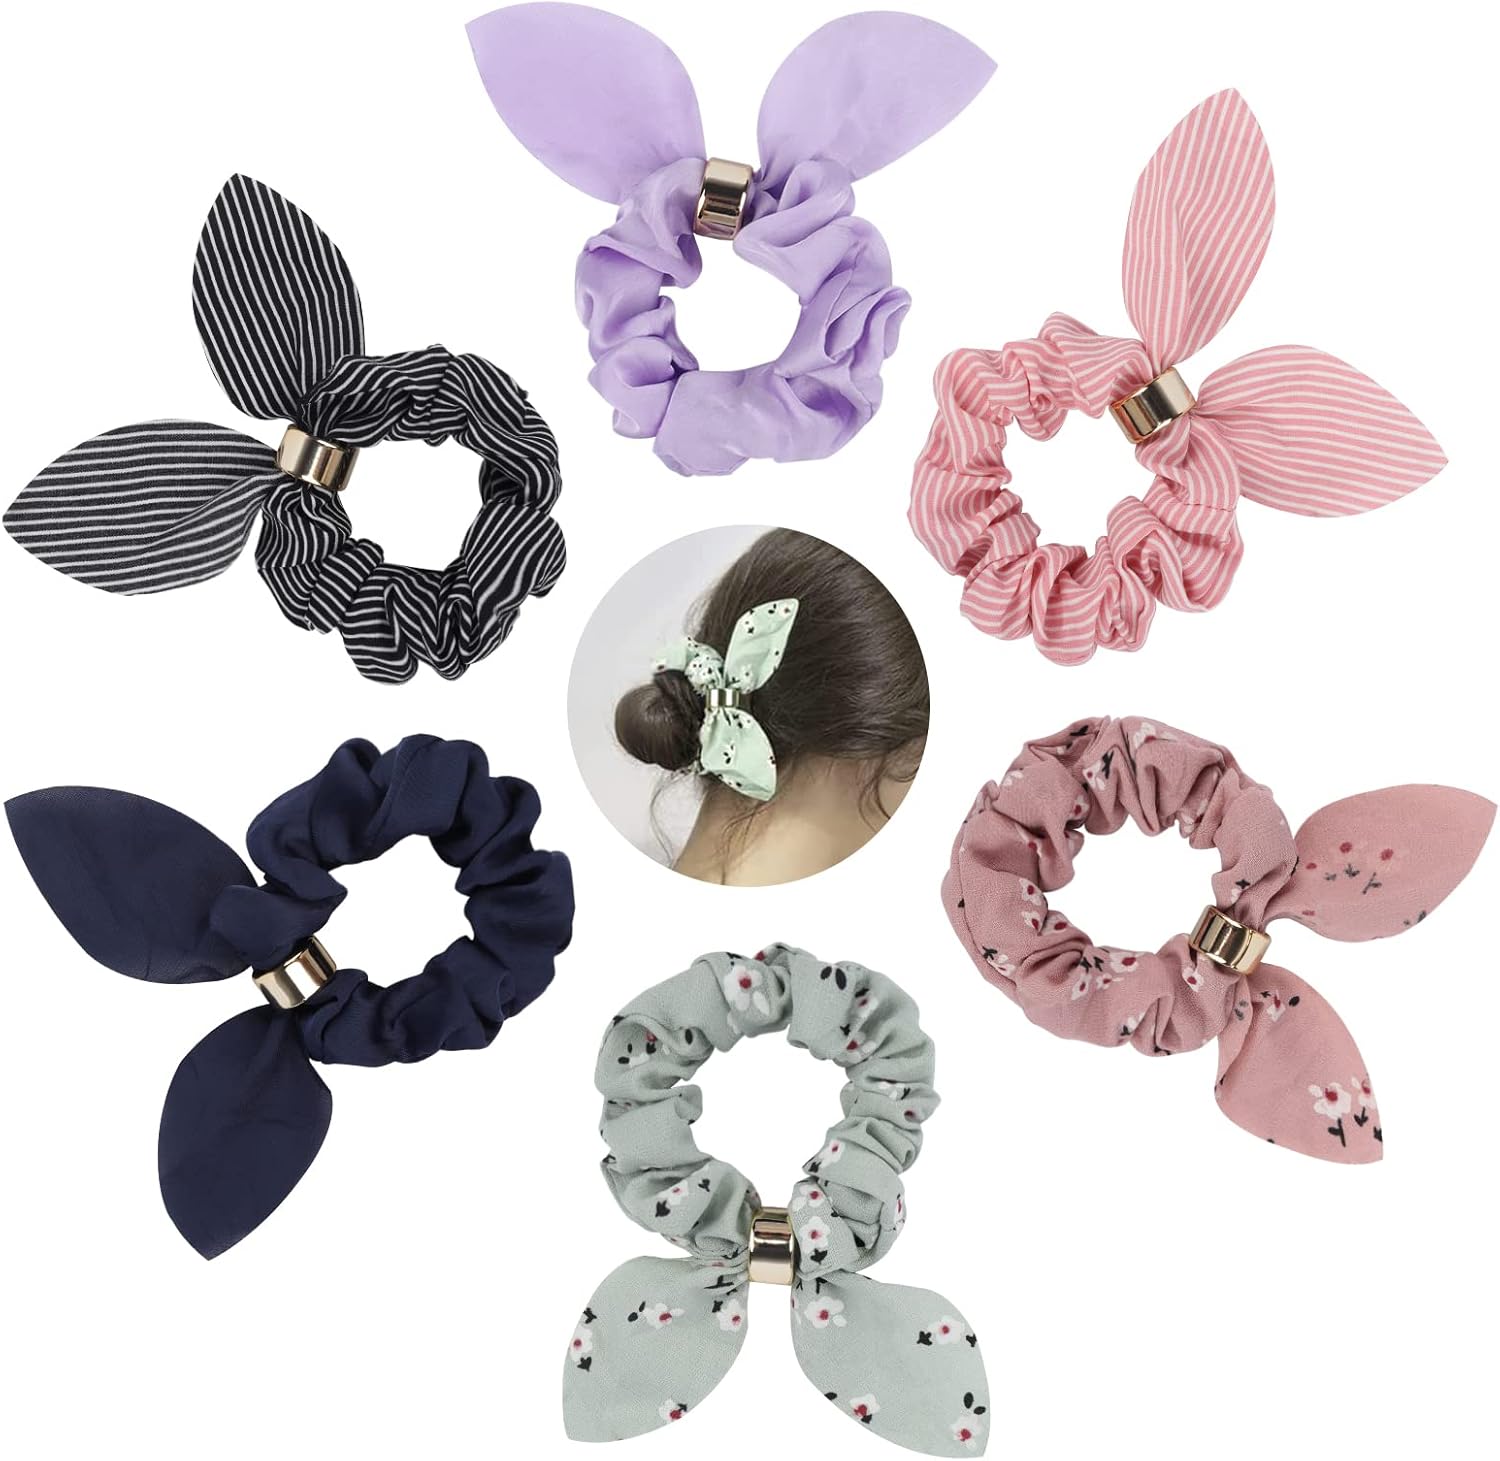
Scrunchies for Girls 6 Pack Large Hair Bow Chiffon Scrunchie Ponytail Holder Elastic Bands Hair Ties Ropes Stripe Hairband Accessories for Women Kids Teenager
£9.9£99Clearance
Shared by
ZTS2023
Joined in 2023
82
63
About this deal
TIP: I find it’s easier to turn a tube right side out if I stitch across one of the short ends and then use a wooden towel pushed into that closed end to turn it right side out. It was a few weeks later before I had time to sit down and make them for her, but make them for her I did. I like how you are encouraging those new to sewing the different methods to choose from and giving them permission to take their time while making this project! To wear the scrunchie as a bracelet: You may want to adjust the length of the elastic to fit comfortably around your wrist. Step 5: To complete your scrunchie simply tie your bow in a single knot around your scrunchie so that it covers the seam.
I just know that if you haven't found yours above, this one is very likely your go-to scrunchie version.The simplicity of these scrunchies will have you sewing matching scrunchies for all of your DIY outfits in no time. I made them to go into care packages for my friends, and they were so cute that I had to make an one extra for myself! If you’re up for a little sewing project, it’s easy to make your very own custom scrunchies at home!
Step 5:Now take your elastic and tie it to the end of your knitting needle then use it to thread the elastic through the tube of fabric. I don't know the head measurement for a child size 4-5 hat (my own kid is now in her teenage years) so I don't know exactly how much you'd need to take it down to fit them. PRO TIP: While sewing the elastic ends together is the best and strongest way to secure them, you can tie the ends together tightly in a double knot instead if you're in a hurry or having trouble with this step. Now working with the scrunchie piece wrong side up, fold back 1/4 inch on one of the shorter ends (to help with closing the scrunchie soon).Look for a machine that will be reliable rather than one that has a million preset stitches and features.
*So you can easily identify outgoing links on our site, we've marked them with an "*" symbol. Links on our site are monetised, but this never affects which deals get posted. Find more info in our FAQs and About Us page.
 Joined in 2023
  82
82  63
63
