About this deal
There are other ways to achieve this where the junction box connections are housed within the 3-pole isolation switch, but that is more complicated to explain and increases the chances of something going wrong. When wired to its own switch, the switch itself will either be located outside of the bathroom, normally above the door or it can be inside as long as it’s in the correct zone and is a pull cord switch. As it’s in a bathroom, although it’s not required, the belt and braces approach is to fit a 3-pole isolation switch so that all potential live points; permanent live, switched live and neutral are isolated when the switch is turned off.
In this instance, the switch live (SL) connection is not used but it is recommended that a 3-pole switch is still fitted as it would allow the circuit to be reconfigured to work with the light switch in future if desired.
🍪 About Cookies on our Site
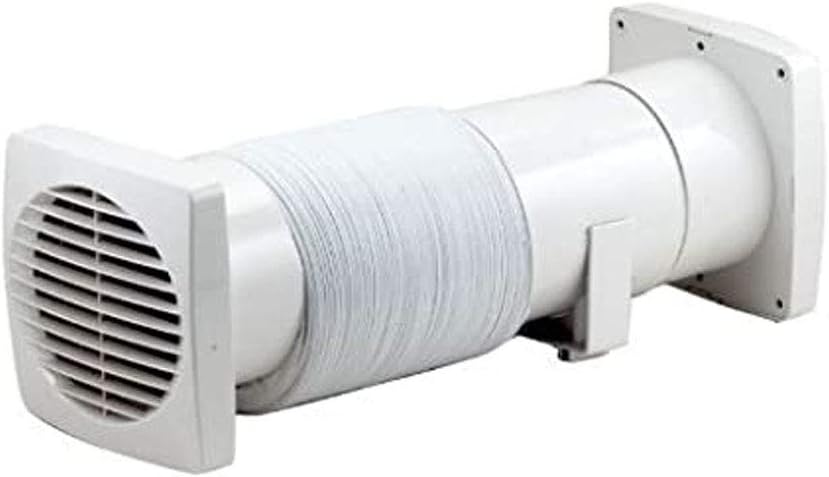
This then enables the independent pull-cord switch to trigger the fan, and allow it to run on, in accordance with the timer setting when the fan is switched off. Once the fan is positioned, the next task is to get it wired up. A suitable length of cable is cut to run from the 3-pole switch out to the fan. In terms of each end when installing an inline fan, you will need both internal and external extractor fan vents. In terms of zones and where a switch can be fitted, this is generally best done in an area of zone 3, but you have to ensure that the correct rating of switch is also used, but your electrician will know for sure what to use. Tools and Products Needed to Wire a Timed Extractor Fan
Although not necessarily required by the regulations, it’s still a great idea to do. Also, ensure that you do actually use a 3-pole isolation switch as they are much more complete than a standard switch as they isolate all 3 wires that need isolating; permanent live, switched live and the neutral. This wiring diagram shows an easy to follow configuration for a bathroom extractor fan fitted with a timer, that’s not going to be turned on by the existing light switch. Instead, we are going to install a new switch that will turn the fan on and off.With most fans there will be 2 or 3 different settings that can be used. Once this is done, the circuit is isolated once more until the finish is completed. He then writes up and issues the works installation certificate. From the fused connection unit the installation must then have a 3-pole isolation switch that provides at least 3mm of separation on ALL live conductors when the switch is off. If you are installing an inline fan then you will also need to install the associated pipework that will carry the moist air from the source to the outside.
Firstly the supply from the 3-pole isolator switch should be connected in to the junction box using a suitable 1mm or 1.5mm twin and earth cable to the L, N and E terminals. In a similar manner, the junction box for the live feed is then wired to the FCU, again, each wire connected to the correct live, neutral and earth terminals.For both different types of units they can also be tuned on and off through normally 2 different means; they are either wired into the light, so that when it’s turned on the extractor comes on also or they have their own dedicated switch, normally as an isolator outside the bathroom above the door or inside as a pull cord switch.
Firstly the cable is capped over using a PVC capping or piece of trunking. This then protects the cable in the wall. When it comes to the type of extractor fan found in a bathroom there are essentially 2 different types; time switched and non-time switched. The main difference between the 2 is that with a timed switch, when the unit is turned off it will run on for a set amount of time to finish clearing the bathroom and when the time expires it then turns itself off. Finally, connect the pull-cord switch that wil be used to turn the fan on and off into the junction box using normal 2-core cabling as with any other light switch. We have concentrated on the actual wiring in this section, rather than the other elements of the installation. If you want to know about these, simply work through the steps in the section above.
Despite this, if you are unfamiliar with working on and around electricity then you are better off getting the pros in to do it for you! Wiring a Timed Extractor Fan Switched on by its Own Switch If installing an inline fan, this will need to be positioned and screwed down to a flat and level surface, ideally between the point that air is being extracted and then being expelled. A larger diameter hole (stated in the instructions) is drilled in the ceiling above the shower, bath etc. and the vent is inserted and fixed up after the end of the pipework is fixed. The same is done at the other end in a suitable location to vent the moist air, normally through a soffit closer or fascia board.
 Great Deal