About this deal
Carving tools are a must when it comes to shaping and smoothing out your sandcastle like a true artist! Ideas for carving tools include: Name Puzzles, Wooden Personalized Gifts, Baby Montessori Toys, Baby Girl Gifts, First Birthday'S, Baby Shower Gifts
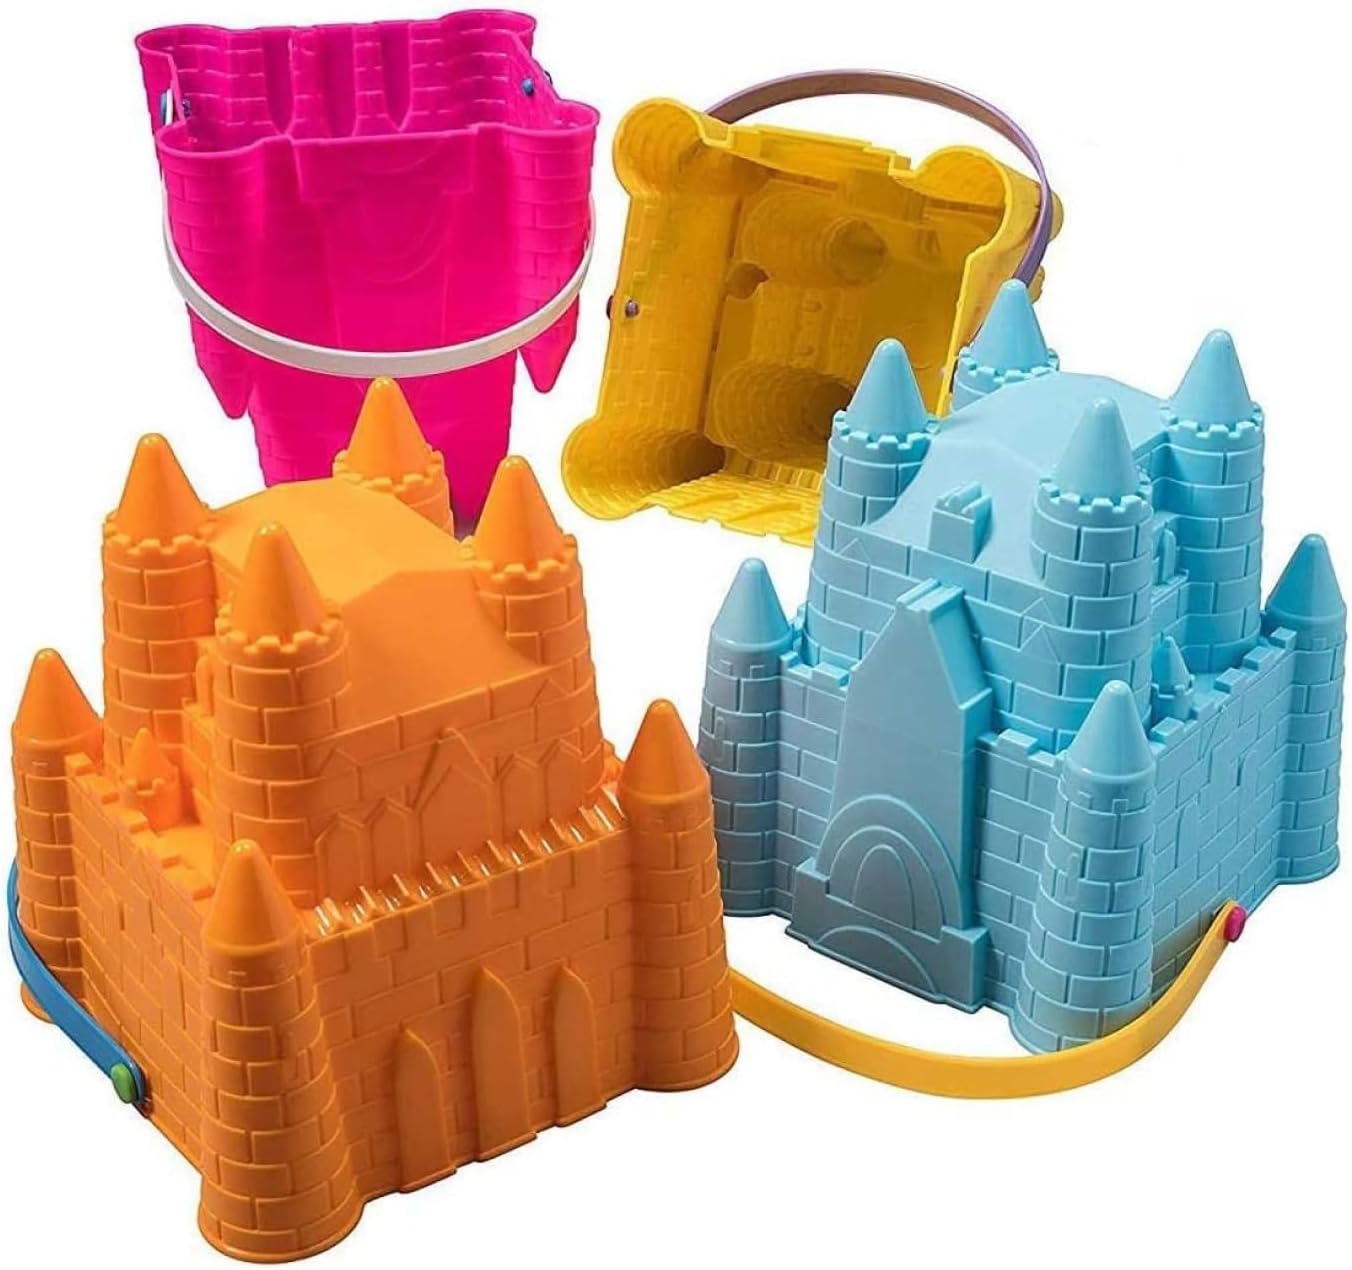
ArtCreativity Beach Sand Castle Buckets and Shovels Set
Repeat Continue scooping out fresh handfuls of sand and flattening them into pancakes. You will apply less downward pressure and spend more time jiggling the edges with each successive layer. Also, as you attain altitude, you will want to make each pancake slightly smaller than the one under it, so that the new pancake doesn't slop over the sides of the one being plopped upon. Discuss which sandcastle structure works best and if the sandcastles are stronger with or without the piles or geogrid. Supervise young people appropriately when they’re using unusual substances, such as powdered paint, ash or dirt. Be aware of any medical conditions which could be affected by what’s being used. OFF SALLE monogrammed bag , straw bag, Personalized bag, customized beach bag, Bridal Party, wedding tote bag,Bridesmaid Gifts Walls are an important architectural element you can use to connect towers, create a staircase, or encircle a castle. You can cut tunnels into walls, or you can carve your name on one.Dry, loose sand is how sandcastles crumble. Avoid dry sand from water evaporation by having a spray bottle on hand. This is also great for not messing up your designs and features when adding water. How to Make Sandcastle Building Extra Fun Now for the rest of the defences. Outside of your main tower, push the sand together between your hands to form a wall around your castle.
Buckets and Spades | Smyths Toys UK Buckets and Spades | Smyths Toys UK
Step 6 When the ends are very close, join them with the keystone – one final plop of wet sand that holds the arch together. Building sandcastle walls will likely take the most amount of time to complete. But the more time you take, the more sturdy you can make sure each castle wall is. It’s OK if not everyone wants to share their ideas or talk in front of the group. If people aren’t comfortable sharing with the group, people could get into pairs or small groups to chat about what they’ve learned instead. Add a second layer to create more height. Keep adding layers of sand until you have reached your desired height. Once you have reached your desired height, use a sand wedge hoe or a plastic knife to smooth the surface of the sand flat. [13] X Research sourceSandcastle competitions, big or small, can be a great way to motivate you to step up your skills! Set a timer and get to work. At the end, observe everyone’s sandcastles and even set up a vote with other beachgoers. Make New Friends Step 3 … positioning your other hand as a support next to one tower, plop your handful and jiggle so that it slops over the edge in the direction of the other tower. Step 3 Scoop up a big double handful of sand, keeping your hands together and pointed towards your stomach. Now it’s time to tidy up. Make sure it’s shared between everyone, so they can work as a team – just like the grains of sand. Step 1 Mix. Use your hands – and even your feet – to mix up the compacted sand at the bottom of the hole. Properly mixed sand has the consistency of cake batter. It is very important to keep the wet sand moving as you build. Sand is heavier than water and, left alone for more than a few minutes, will sink to the bottom of the hole. So repeat the mixing step every time you start another structure.
Large Sandcastle Bucket - The Range
Today English Heritage looks after 66 of these castles – more than any organisation in England – and this summer we’re celebrating them all. Some have their origins in Roman times, many were built in the years after 1066 to help the Normans impose their rule on the Saxons, and some were designed by Henry VIII to defend the coast from invasion. Now that you've built some walls and towers it's time to pretty them up. Here are some basic rules: Only ask people to move around the space in ways that work for everyone. Make sure the equipment is laid out with enough space for everyone, including anyone using a mobility aid, and make sure the objects are placed in areas that can be easily worked on and are accessible for everyone in the group, including wheelchair users. There’re lots of different jobs that need doing when building the sandcastles. There’s a role for everyone, so encourage everyone to be involved in a way that works for them. Make an arch. The easiest way to build an arch is to build two towers quite close together, leaning slightly inward as they go higher. As soon as the towers are close enough together, make a bridge between the tower tops with your hand. Pile more wet sand over your hand to connect the two towers, and wait a few seconds for it to dry. Heavy arches are more likely to collapse, so scrape off as much sand as you can from the sides and top before you move your hand away. [10] X Research sourceThe last step is to add the keystone, which is the last handful of sand you’ll use to construct your arch and will hold the two halves together. To make your keystone, simply add a handful of sand between the two sides and carefully mold them together until they form a solid piece. Depending on how far you are from the shoreline, you may only have to dig a few inches. Don’t worry about making the hole big. You just want it to be deep enough that it’ll give you access to water. It’ll also get bigger as you continue to remove more sand during the building process. 4. Prepare Your Sand Make arched doorways with a spoon. At the bottom-center section of the wall, place the tip of the spoon on the sand. Carve the outline of an arched doorway that is 5 to 10 inches (13 to 25 cm) tall, depending on the size of your castle. Remove the sand from the inside to create an indention for the doorway. [20] X Research source
The Guardian How to build the perfect sandcastle | Family | The Guardian
Tell everyone that if it's too dry, the sand will slip and it's hard to pile up or compact, so it won’t be that strong. If it's too wet, the sand will be all slushy and again, the sand will be slippy and it’ll be hard to compact. You could probably find most of these buried in kitchen drawers and toolboxes. Smoothing and shaping tools: at a minimum, find yourself an old kitchen (or plastic) knife with the tip broken off. For basic shaping, almost anything with a thin blade and straight edge will work such as putty knives, paint scrapers and trowels. The best all-round shaping tool for your kit is something with an offset handle. A pastry knife with a squared-off end (they usually come rounded) is ideal. Finishing tools: at a minimum, find yourself a soft-bristled paintbrush and a plastic drinking straw. The brush will come in handy for smoothing surfaces and the straw works well for blowing loose sand out of detailed carving. In an emergency, you can make a pretty good set of tools out of plastic eating utensils. 3. The building methods If you're building at the beach, the best way to obtain an unlimited supply of H 2O is by digging a self-replenishing water hole. Start digging.Some of the most unique-looking towers have a funnel shape roof. You can do this for your castle, too. A funnel is also a helpful tool for dripping sand to create a fun design. Carving Tools
 Great Deal