About this deal
After all leds are installed and tested, the covers can be installed. The input should be on a 3 point intersection. You can add a jumper wire and input it somewhere else, but this design expects input on a 3 point intersection. I made some animation for the dodecahedron, though I was running a bit short on time. The sketch for the Teensy is included in the files. In the provided program the dodecahedron will run through all animations over time. The SK6812 3535 led strips I used are rather fragile, much more so than normal WS2812b strips. I had a few LEDs fail on me, probably due to over-heating when soldering. This can be particularly annoying, because once you have to replace one LED, splicing in a new one might cause the one next to it to fail, and so you can get caught in a frustrating cycle. Likewise, joining the strips to the corner PCBs is fairly fiddly, and can cause problems. Remove the protective film from the one-way mirror side. Add a thin rim of CA around all struts of the face and gently place the mirror in the framework. You do not want any excess glue to squeeze into the visible side of the lamp. Painters tape can be used to temporarily hold the mirror in place while it sets. I do not advice using activator here since it can create a white haze around the joint.
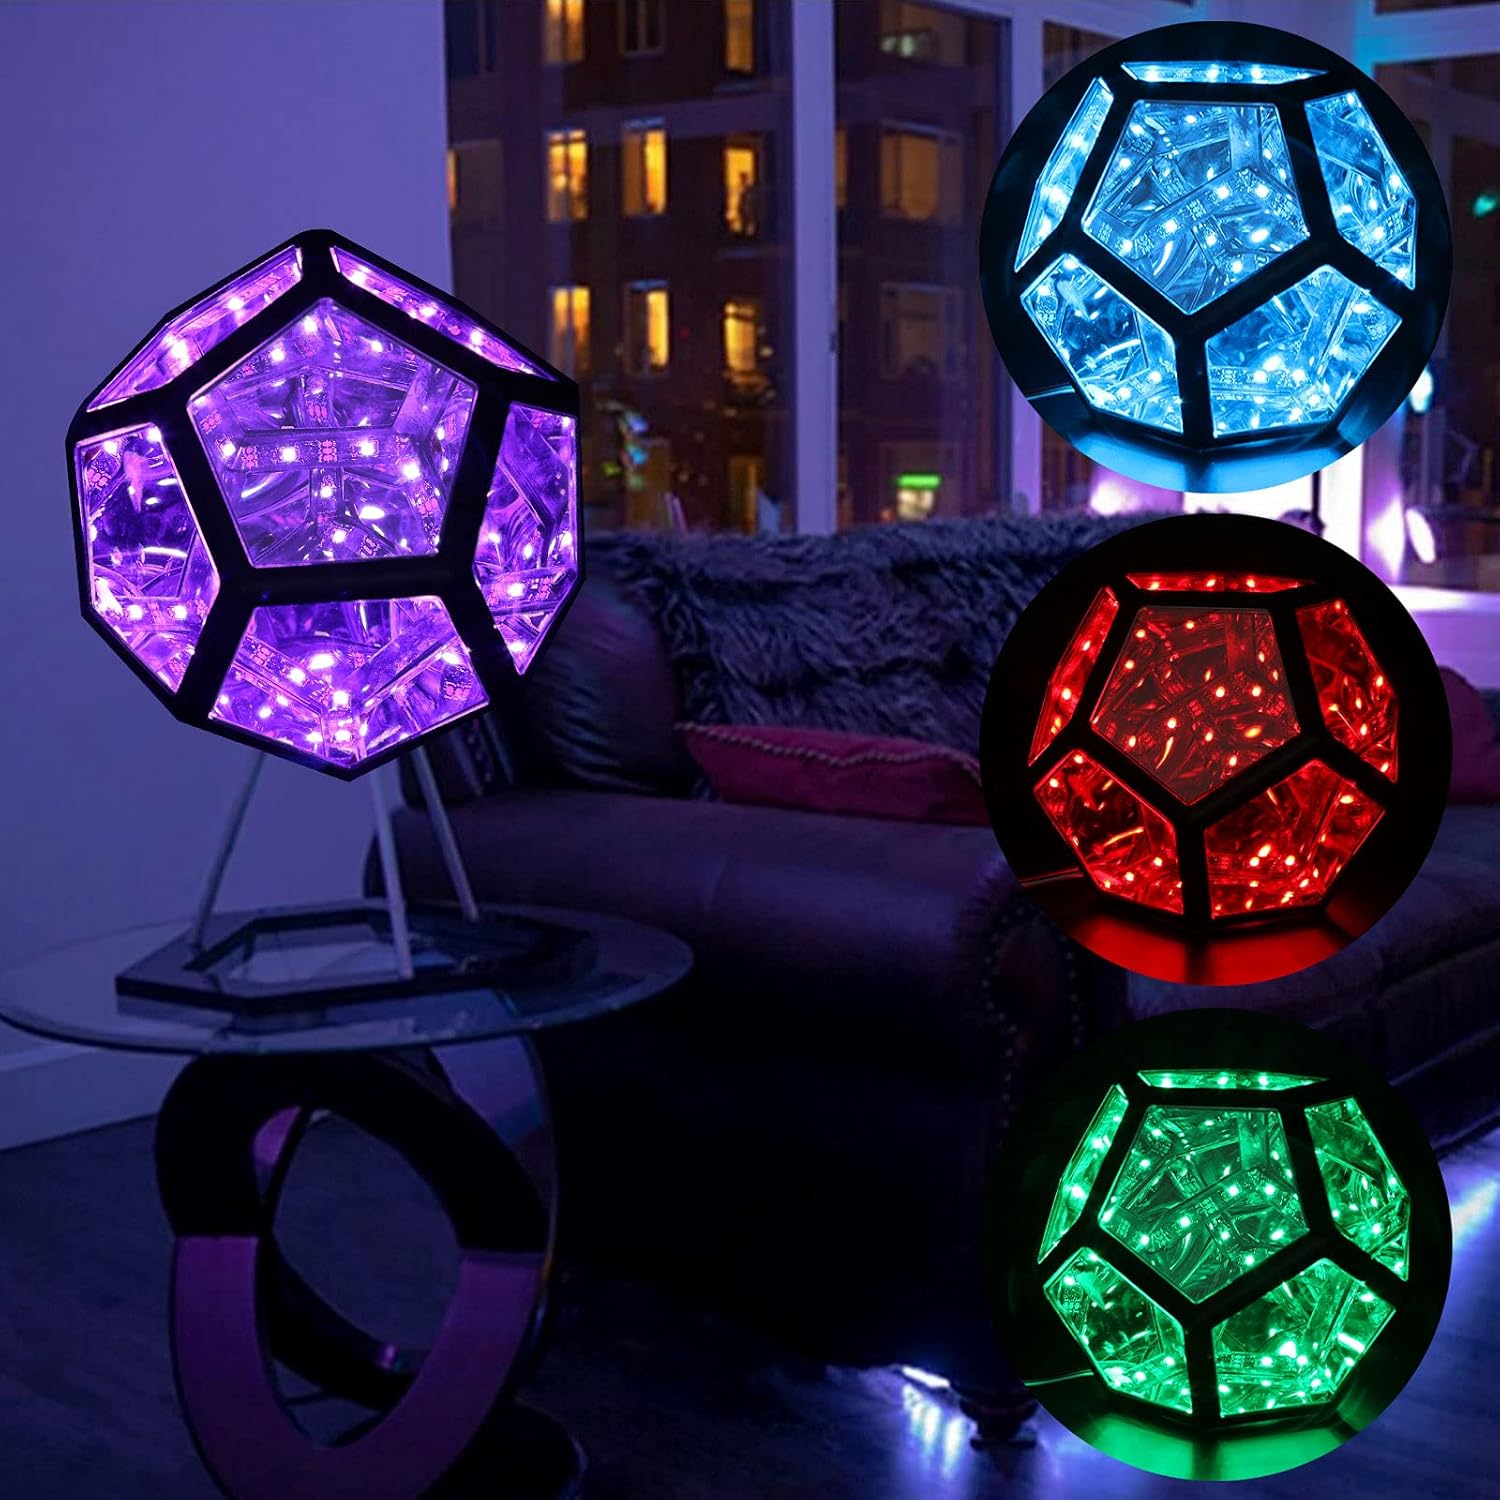
As you know, a mirror reflects whatever is in front of it. So, if you place two mirrors facing each other they reflect each other. Then, if you put an object between the two mirrors, it is reflected in both of them, while the reflection is also reflected in the other mirror. This creates the "infinity" effect where the object seems to be repeated into the depths of the mirrors. Attach all the strips to each of the edges of the dodecahedron using hot-glue. Make sure you follow the guide exactly when placing the strips to get the directions correct! It maybe helpful to write down what strip you are on at each step. This is what I did, and it worked out well. As pictured, press a common corner PCB into place at each corner of the dodecahedron. They should be a loose press fit. Make sure their orientation is correct by following the guide. That is, make sure the data is connected between the two correct strips, and that the positives and grounds are correct.Next, repeat the following steps for each face. Unfortunately my pictures for this step are limited, but the general process is fully demonstrated in this video here (Credit goes to Simon Jowett for the video): The layout of the rhombic dodecahedron is very simple. Each strut on a 3 piece corner goes to a 4 piece corner, and every strut on a 4 piece corner goes to a 3 piece corner. I glued all struts on a corner piece all at once, and when it set move on to the next corner.
The first step is to sand the visible face. With 180 grit sandpaper on a table, I sanded all parts facing down. Sanding is done when the entire surface seems sanded. If it still shines, it needs more sanding. Button 3: Brightness cycle. You can adjust the increments by changing the "brightnessLevels" array in my code. Strip, insert, and solder the wires into the through-holes in the base PCB as pictured. Refer to the guide to make sure you place the wires correctly. Depending on how many strands your wires have, you may need to trim a few away to get them through the holes. If you cannot easily get them through, switch to 26Ga stranded wire. Each strip has the 5V and GND connected to the next one. This is not an exact science, and I simply soldered the ground and 5V of each strip to the nearest already powered strip I could find. Try to avoid ground and power loops, where there are several paths ground can take. Only connect 5V and ground when you are sure that one of the sides is not connected. Also be sure which side is 5V and which side is ground. Depending on the orientation of the strip, these can be flipped.
Since most of the dodecahedron is 3D printed, I thought it would be helpful to have a full exploded view on hand to make assembly more clear. I designed the dodecahedron using Fusion360, which makes it easy to whip up a construction drawing. I've added an image of the drawing to this step, and also attached a PDF version (also on my Github). Please note that the drawing only includes the 3D printed and laser cut parts, and not any of the electronics. If you watch the video on Youtube it has timestamps for the different effects. They don't seem to show up on instructables) Take the two halves and join them together to form a full dodecahedron. Make sure that the numbers at the joints match those pictured! IE: 21 and 8 share a common corner.
 Great Deal